DIY Spring Decor centerpiece.

Sharing a festive DIY Spring Decor centerpiece that is a simple thrifty craft with the look of something you would buy at a boutique, but way less expensive.
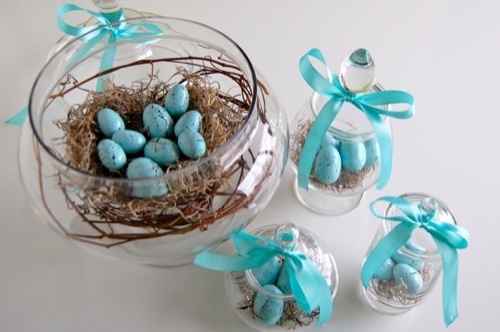
Spring Decor DIY
I still love the color combination of turquoise blue with natural brown tones, and this is a fun way to highlight those colors together.
This craft involves two of my favorites: thrift store finds and simple craft paint.
I love to thrift store shop and I’ve found some great finds, along with a bunch of things that I brought home that I now question “what the heck was I thinking?!” I’m turning that purchase into something better. Thank goodness!
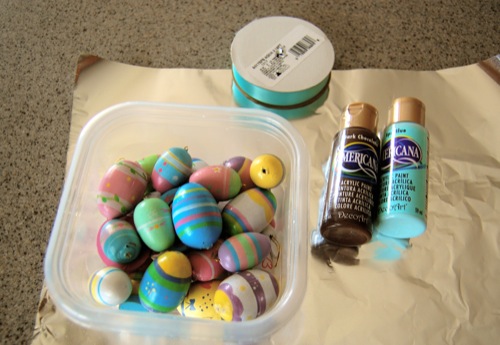
Here is what you’ll need to make this Spring centerpiece:
wooden easter eggs: $2.00 – (the questionable thrift store find)
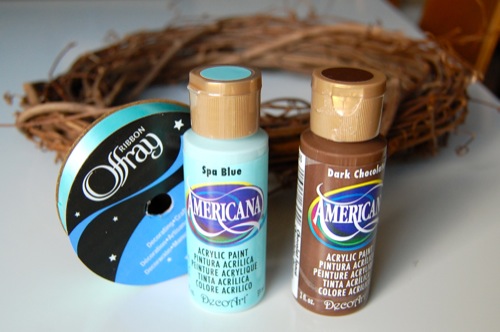
turquoise ribbon: $2.00
Acrylic craft paint
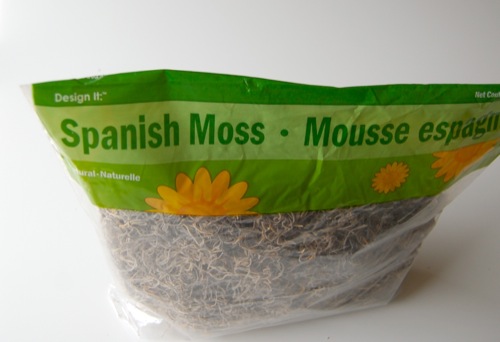
Spanish moss: $2.50
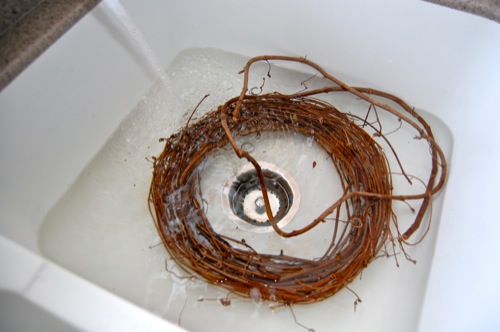
grapevine wreath: $2.00
glass apothecary jar (I found this one at the thrift store for cheap!)
Step 1: Take apart an old grapevine wreath. I have found that a soak in warm water in your sink can help loosen up the shape of the wreath. You only need a few thin branches from the wreath, but it helps to take it apart a bit to get what you need from it.
Step 2: Clean up those wooden easter eggs from the thrift store. These little eggs were meant to hang from one of those little easter trees, so they all had little strings hanging from the bottoms. I first chipped off the hot glue and pulled out those strings before I began painting.
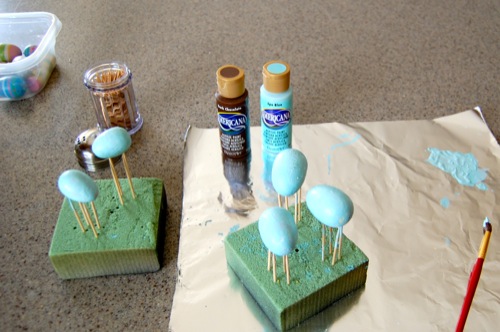
Step 3: Paint the eggs. The first coat of craft paint I used here is Spa Blue by DecoArt. To hold the eggs up while they dry, I used toothpicks and floral foam.
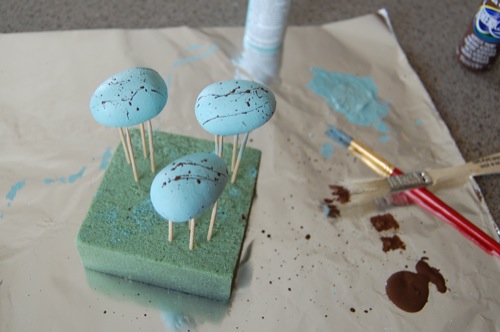
Step 4: Speckle the eggs. With dark brown paint, flick bits of paint onto the blue eggs giving them that speckled look. You might want to do this step outside. It’s can be a bit messy.
Step 5: Clear gloss coat. This step is not shown here, but find a clear glossy top coat to give the eggs a shine.
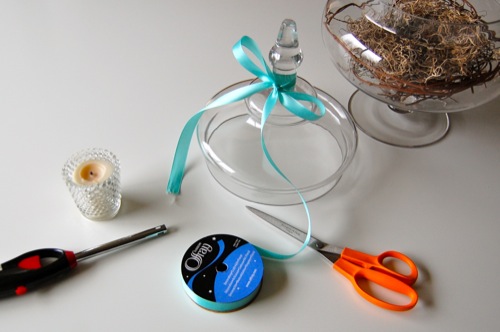
Step 6: Tie a matching turquoise ribbon around the glass container. Finish off the edges of the cut ribbon by melting the edges with a candle. This is one of my favorite quick tips.
Step 7: Assemble everything together. Layer in pieces of the grapevine wreath, Spanish moss and then the blue eggs.
Voila! There you have a fun Spring-y center piece. Inexpensive too!
MORE Easter Treats we LOVE:
–No Bake Crispy Chocolate Peanut Butter Eggs
–Easter Rice Krispie Treats with Peeps
–Rock Candy Carrots
–Pineapple Fruit Cup Easter Chicks
MORE EASTER Printables (free downloads):
–Easter Gift tag with bunny ears
–Happy Easter Banner
–Happy Pinwheels
–Easter Brunch place cards and Easter Banner
–Washi Tape Easter Template
MORE Easter DIY Projects:
–Easter Table Setting with real Easter Grass
–Carrot Cake Cupcake Toppers
–Speckled Easter Egg Candy Mason Jars
–Chocolate Bunny Mason Jars
–Peeps Bunny Mason Jars
–Plastic Easter Egg Bunting
–Sharpie Eggs: Carrot Confetti
–Robin’s Egg Nest (you are here)
–Easter Desserts