He shoots, he scores!! Ahh Valentine’s Day…we sure do love you.

Here’s a fun Valentine’s Day craft, cupid inspired. I call it: “Shot through the heart”, (you know you want to sing it…”SHOT THROUGH THE HEART, and you’re to blame… (sing it with me now)…you give love a bad name”). 🙂
It all started with this tree stump I found at the thrift store in the wood section (oh the things you’ll find at the Thrift Store). I loved how it was cut on an angle. It was just begging for our initials or something great.
Here’s what you’ll need to get started with this fun craft:
![]()
– a small tree stump cut at an angle
– wood skewers
– tissue paper (in pink, hot pink and red)
– glitter gold or plain gold card stock
– gold curling ribbon
– one long reach hole punch
– heart shaped nesting dies
– arrows cutting die
– one heavy duty nail
– low temp hot glue gun
![]()
To start, hammer the heavy duty nail directly into the center of the tree stump. This will give the wood skewer some stability. Start with one piece of tissue paper folded repeatedly into small squares and using your heart shaped dies run it through your die cutting tool creating layers of tissue paper hearts. Repeat with different sizes and colors adding layers of texture to your heart. Keeping like colors and sizes together, punch a hole in the center of each group of layers. Layer the colors and sizes (biggest to smallest onto the heavy duty nail, so that the nail looks like it poked through all the layers of tissue paper, when really it didn’t.
Next take the wooden skewers and using your low temp glue gun wrap the gold curling ribbon tightly around it, gluing as you go. For the end of the arrow make little arrow ends with this arrow die or you could make them by hand. Use hot glue to stick them together. Next wrap some red twine around the arrow for a fun look. I made 3 arrows for this project to make it look like Cupid shot three arrows.
To stick the main arrow on, tightly wrap more of the gold curling ribbon around both the heavy duty nail and the arrow you just made. Use hot glue to stick it tight as you wrap. I used the red twine here to hide the thickness of the nail.
![]()
And that’s it! Pretty simple!
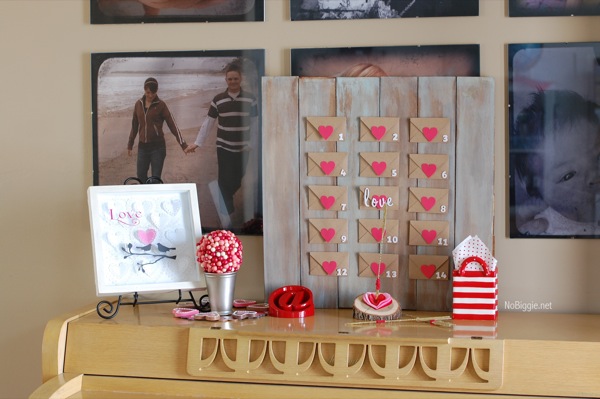
It’s a fun addition to our Valentine’s Day decor and Valentine’s Day countdown.
Are you making anything new for Valentine’s Day this year?